How to Drill a Cabinet Access Hole
I love thrifted furniture. Often well-built, with more durability and character than anything you could buy new, thrifted furniture is funky and fun. Even more bonus? It's often cheaper! But, old furniture doesn't come with all the convenient punch-outs and access panels that new furniture does. So if you're using an old piece of furniture but want to run power inside, for electronics or a charging station, you're going to have to put a hole in it. The good news is that since you didn't pay much for it, if you ruin it, it's not too big of a deal, right?
So, it's obvious that you need to cut a hole, but how? Of course there's many options, but if you want a really nice, clean, round hole, one of the ways I like is to use a spade bit. Now, for those of you who are tool-savvy, this probably seems painfully obvious, but when I started doing my own DIY projects, I had no clue that such things existed, and I thought that there might be other people out there like me. Read on to see just exactly how this weirdly wide bit works so you can try it at home!
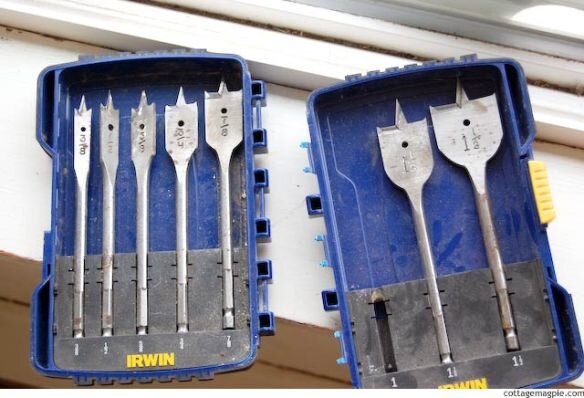
First off, you will need a special kind of drill bit for your drill called a "spade bit." This special bit does a great job of cutting a clean hole just the way you want it. They look like this:
We got a set for Christmas a few years ago from family, and I've really appreciated having it. But you can just buy the one bit you need, too, rather than invest in a whole set.
Updated: I just checked over at Lowes.com, and in my area this same set sells for $20.97. A smaller, 4-bit set sells for just over $9.38, and a single bit sells for just over $3.58. So they're not super expensive. To check, just search for "spade bit" at whatever hardware store you usually use.
Either way, you'll need your power cord to know what size you need. Just hold the smallest end up to the bits and see which one is big enough. You can do that with your set at home, like I am doing here, or in the store before you buy your bit.
This one is too small:
The next size up looks just right:
It turns out to be a 1 1/2 inch spade bit as you can see by the markings stamped on it:
I suspect that may work for most situations, so try that one first if you go looking.
The spade bit fits into the drill just like any other bit. Just twist the collar at the end of the drill to release anything that's in there, insert the small end of the bit and twist again to tighten. It will look something like this:
Drilling With a Spade Bit via Cottage Magpie
Next, point the business end of the bit at the spot you want to put your hole. I like to work from the back because it's easier to aim and so forth, but make sure you are cutting into the right spot from the front and not hitting any shelves or supports or anything. You can measure from the sides or bottom or whatever you need to. Wherever you decide to drill, rest the little pointy end in the center of where you want the hole, like so:
Pull the trigger, and the bit will spin and the pointy part will make a nice pilot hole to hole the bit steady. It'll sink and then the little pointy tips on the wide part of the bit will start cutting a circle, like this:
Keep going, and the flat part of the bit will start to shave away the wood:
Maintain a steady pressure. You have to push a little or it won't cut anything away, but if you push too hard it'll stick and stop turning. So just vary the pressure until you get a feel for how hard to push to get it to cut without sticking. Keep shaving away that wood!
It'll take a minute or two, but eventually you'll break through. Again, try not to push too hard, you don't want to tear the wood on the other side. Let the bit do it's work and cut through:
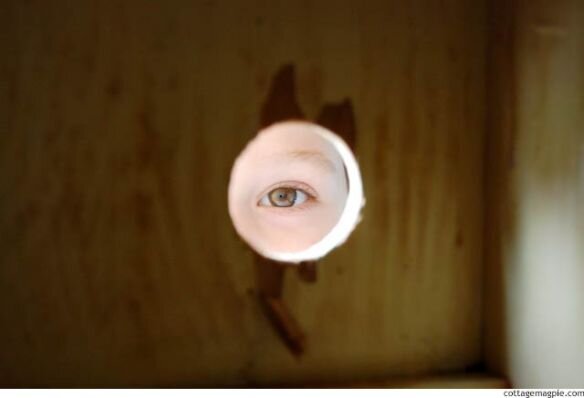
And you'll have a nice hole!
Get a friend (or conveniently located child) to push the power cord through the hole for you to grab:
Pull the cord the rest of the way through, and voila! A power-cord accessible cabinet!
In my case, this will be a new, hidden charging station for my workshop!
What about you? Do you have a cabinet that needs a hole in it? :-)


